MASTG-TEST-0058: Testing Backups for Sensitive Data
Deprecated Test
This test is deprecated and should not be used anymore. Reason: New version available in MASTG V2
Please check the following MASTG v2 tests that cover this v1 test:
Overview
Static Analysis
A backup of a device on which a mobile application has been installed will include all subdirectories (except for Library/Caches/) and files in the app's private directory.
Therefore, avoid storing sensitive data in plaintext within any of the files or folders that are in the app's private directory or subdirectories.
Although all the files in Documents/ and Library/Application Support/ are always backed up by default, you can exclude files from the backup by calling NSURL setResourceValue:forKey:error: with the NSURLIsExcludedFromBackupKey key.
You can use the NSURLIsExcludedFromBackupKey and CFURLIsExcludedFromBackupKey file system properties to exclude files and directories from backups. An app that needs to exclude many files can do so by creating its own subdirectory and marking that directory excluded. Apps should create their own directories for exclusion instead of excluding system-defined directories.
Both file system properties are preferable to the deprecated approach of directly setting an extended attribute. All apps running on iOS version 5.1 and later should use these properties to exclude data from backups.
The following is sample Objective-C code for excluding a file from a backup on iOS 5.1 and later:
- (BOOL)addSkipBackupAttributeToItemAtPath:(NSString *) filePathString
{
    NSURL* URL= [NSURL fileURLWithPath: filePathString];
    assert([[NSFileManager defaultManager] fileExistsAtPath: [URL path]]);

    NSError *error = nil;
    BOOL success = [URL setResourceValue: [NSNumber numberWithBool: YES]
                                  forKey: NSURLIsExcludedFromBackupKey error: &error];
    if(!success){
        NSLog(@"Error excluding %@ from backup %@", [URL lastPathComponent], error);
    }
    return success;
}
The following is sample Swift code for excluding a file from a backup on iOS 5.1 and later, see Swift excluding files from iCloud backup for more information:
enum ExcludeFileError: Error {
    case fileDoesNotExist
    case error(String)
}

func excludeFileFromBackup(filePath: URL) -> Result<Bool, ExcludeFileError> {
    var file = filePath

    do {
        if FileManager.default.fileExists(atPath: file.path) {
            var res = URLResourceValues()
            res.isExcludedFromBackup = true
            try file.setResourceValues(res)
            return .success(true)

        } else {
            return .failure(.fileDoesNotExist)
        }
    } catch {
        return .failure(.error("Error excluding \(file.lastPathComponent) from backup \(error)"))
    }
}
Dynamic Analysis
In order to test the backup, you obviously need to create one first. The most common way to create a backup of an iOS device is by using iTunes, which is available for Windows, Linux and of course macOS (till macOS Mojave). When creating a backup via iTunes you can always only backup the whole device and not select just a single app. Make sure that the option "Encrypt local backup" in iTunes is not set, so that the backup is stored in cleartext on your hard drive.
iTunes is not available anymore from macOS Catalina onwards. Managing of an iOS device, including updates, backup and restore has been moved to the Finder app. The approach remains the same, as described above.
After the iOS device has been backed up, you need to retrieve the file path of the backup, which are different locations on each OS. The official Apple documentation will help you to locate backups of your iPhone, iPad, and iPod touch.
When you want to navigate to the backup folder up to High Sierra you can easily do so. Starting with macOS Mojave you will get the following error (even as root):
$ pwd
/Users/foo/Library/Application Support
$ ls -alh MobileSync
ls: MobileSync: Operation not permitted
This is not a permission issue of the backup folder, but a new feature in macOS Mojave. You can solve this problem by granting full disk access to your terminal application by following the explanation on OSXDaily.
Before you can access the directory you need to select the folder with the UDID of your device. Check the section "Obtaining the UDID of an iOS device" on how to retrieve it.
Once you know the UDID you can navigate into this directory and you will find the full backup of the whole device, which does include pictures, app data and whatever might have been stored on the device.
Review the data that's in the backed up files and folders. The structure of the directories and file names is obfuscated and will look like this:
$ pwd
/Users/foo/Library/Application Support/MobileSync/Backup/416f01bd160932d2bf2f95f1f142bc29b1c62dcb/00
$ ls | head -n 3
000127b08898088a8a169b4f63b363a3adcf389b
0001fe89d0d03708d414b36bc6f706f567b08d66
000200a644d7d2c56eec5b89c1921dacbec83c3e
Therefore, it's not straightforward to navigate through it and you will not find any hints of the app you want to analyze in the directory or file name. You can consider using the iMazing shareware utility to assist here. Perform a device backup with iMazing and use its built-in backup explorer to easily analyze app container contents including original paths and file names.
Without iMazing or similar software you may need to resort to using grep to identify sensitive data. This is not the most thorough approach but you can try searching for sensitive data that you have keyed in while using the app before you made the backup. For example: the username, password, credit card data, PII or any data that is considered sensitive in the context of the app.
~/Library/Application Support/MobileSync/Backup/<UDID>
grep -iRn "password" .
As described in the Static Analysis section, any sensitive data that you're able to find should be excluded from the backup, encrypted properly by using the Keychain or not stored on the device in the first place.
To identify if a backup is encrypted, you can check the key named "IsEncrypted" from the file "Manifest.plist", located at the root of the backup directory. The following example shows a configuration indicating that the backup is encrypted:
<?xml version="1.0" encoding="UTF-8"?>
<!DOCTYPE plist PUBLIC "-//Apple//DTD PLIST 1.0//EN" "http://www.apple.com/DTDs/PropertyList-1.0.dtd">
<plist version="1.0">
...
 <key>Date</key>
 <date>2021-03-12T17:43:33Z</date>
 <key>IsEncrypted</key>
 <true/>
...
</plist>
In case you need to work with an encrypted backup, there are some Python scripts in DinoSec's GitHub repo, such as backup_tool.py and backup_passwd.py, that will serve as a good starting point. However, note that they might not work with the latest iTunes/Finder versions and might need to be tweaked.
You can also use the tool iOSbackup to easily read and extract files from a password-encrypted iOS backup.
Proof of Concept: Removing UI Lock with Tampered Backup
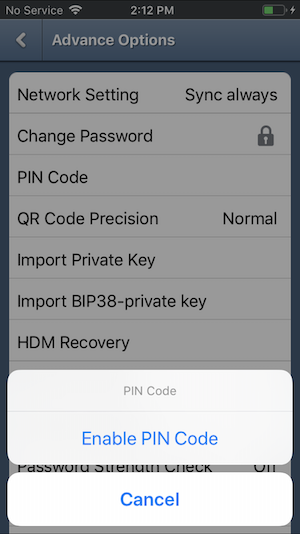
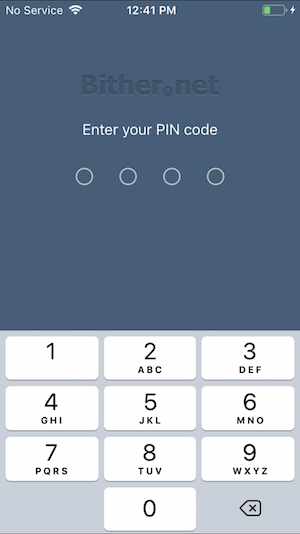
As discussed earlier, sensitive data is not limited to just user data and PII. It can also be configuration or settings files that affect app behavior, restrict functionality, or enable security controls. If you take a look at the open source bitcoin wallet app, Bither, you'll see that it's possible to configure a PIN to lock the UI. And after a few easy steps, you will see how to bypass this UI lock with a modified backup on a non-jailbroken device.
After you enable the pin, use iMazing to perform a device backup:
- Select your device from the list under the AVAILABLE menu.
- Click the top menu option Back Up.
- Follow prompts to complete the backup using defaults.
Next you can open the backup to view app container files within your target app:
- Select your device and click Backups on the top right menu.
- Click the backup you created and select View.
- Navigate to the Bither app from the Apps directory.
At this point you can view all the backed up content for Bither.
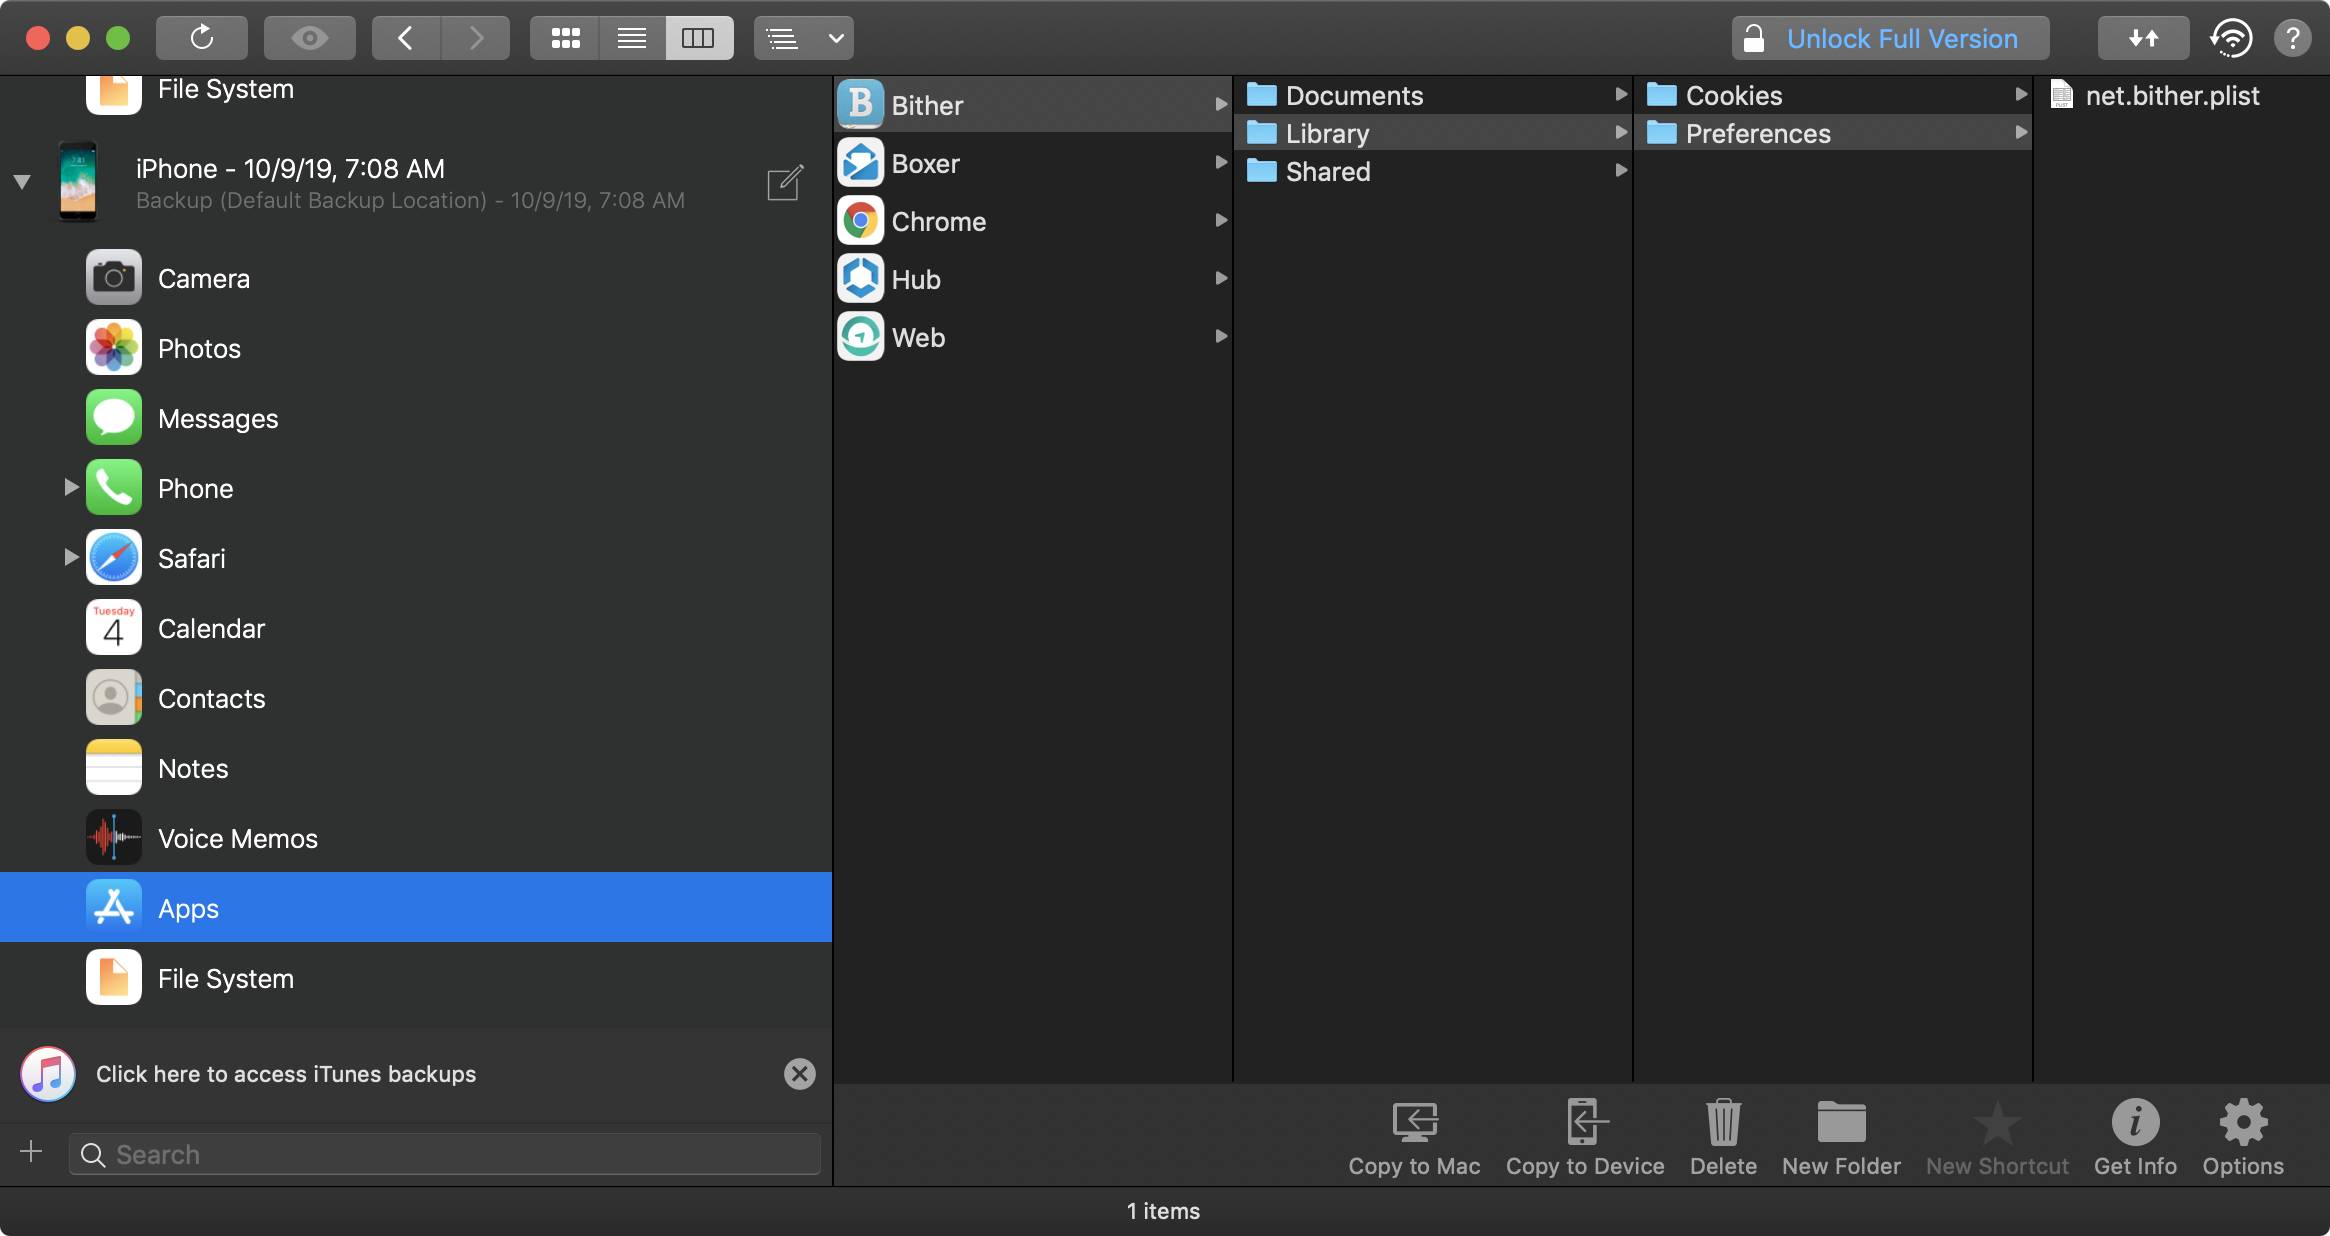
This is where you can begin parsing through the files looking for sensitive data. In the screenshot you'll see the net.bither.plist file which contains the pin_code attribute. To remove the UI lock restriction, simply delete the pin_code attribute and save the changes.
From there it's possible to easily restore the modified version of net.bither.plist back onto the device using the licensed version of iMazing.
The free workaround, however, is to find the plist file in the obfuscated backup generated by iTunes/Finder. So create your backup of the device with Bither's PIN code configured. Then, using the steps described earlier, find the backup directory and grep for "pin_code" as shown below.
$ ~/Library/Application Support/MobileSync/Backup/<UDID>
$ grep -iRn "pin_code" .
Binary file ./13/135416dd5f251f9251e0f07206277586b7eac6f6 matches
You'll see there was a match on a binary file with an obfuscated name. This is your net.bither.plist file. Go ahead and rename the file giving it a plist extension so Xcode can easily open it up for you.
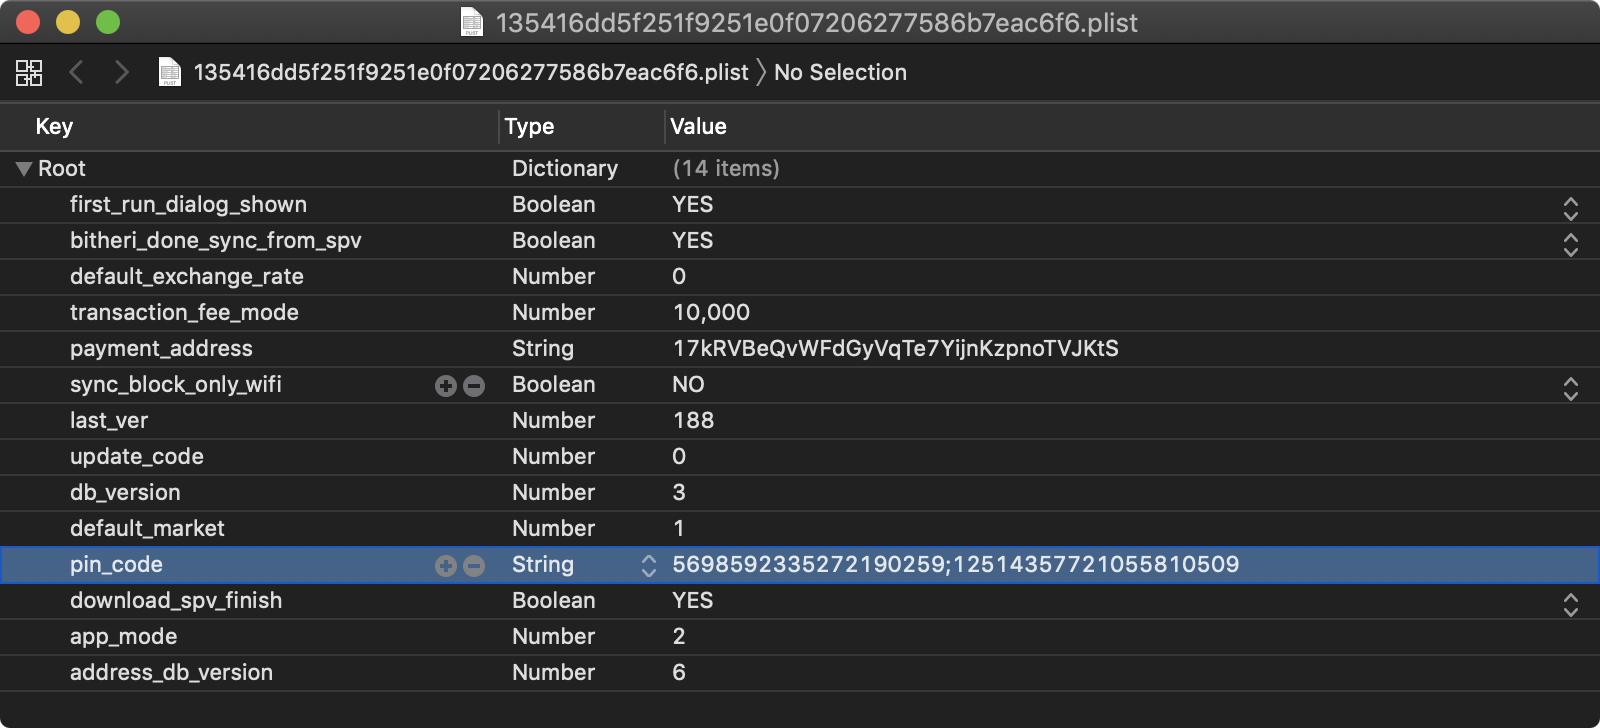
Again, remove the pin_code attribute from the plist and save your changes. Rename the file back to the original name (i.e., without the plist extension) and perform your backup restore. When the restore is complete you'll see that Bither no longer prompts you for the PIN code when launched.